本文介绍如何打造基于Docker的私有CI/CD平台
前言
目前体验过或者使用过的自动化构建工具有Jenkins、Travis CI、Github Actions、Gitlab-CI,最近又发现了Drone。它是一款使用Go开发的开源的CI自动构建平台,能够单独部署,支持常见的Git仓库,例如Github,Gitlab,Bitbucket以及Gogs等。
本文带大家使用Gogs+Drone打造基于Docker的私有CI/CD平台,本文有不足或者认识不到位的地方欢迎大家批评指正。
环境说明
1 | # cat /etc/redhat-release |
部署Docker
安装Docker
1 | # cd /etc/yum.repos.d/ && rm -f *.repo |
测试Docker服务正常
例行跑个hello world测试下Docker服务是否正常
1 | # docker run hello-world |
安装docker-compose
1 | # yum install -y docker-compose |
部署Gogs
Gogs简介
Gogs,一款极易搭建的自助Git服务。
优势如下:
- 易安装:除了可以根据操作系统平台下载二进制运行,还可以通过Docker或Vagrant,以及包管理安装。
- 跨平台:任何Go语言支持的平台都可以运行Gogs,包括Windows、Mac、Linux以及ARM。
- 轻量级:一个廉价的树莓派的配置足以满足 Gogs 的最低系统硬件要求。有些用户甚至还将 Gogs 运行在 NAS 设备上。
安装MySQL
1 | # docker run --name gogs-mysql --restart=always -v /opt/mysql/mysqlVolume:/var/lib/mysql -e MYSQL_ROOT_PASSWORD=123456 -p 3306:3306 -d mysql:5.7.19 |
创建Gogs及drone数据库
1 | # mysql -uroot -p123456 -h 127.0.0.1 |
安装Gogs
1 | # docker pull gogs/gogs |
打开页面继续配置Gogs
http://192.168.200.109:10080/install
配置数据库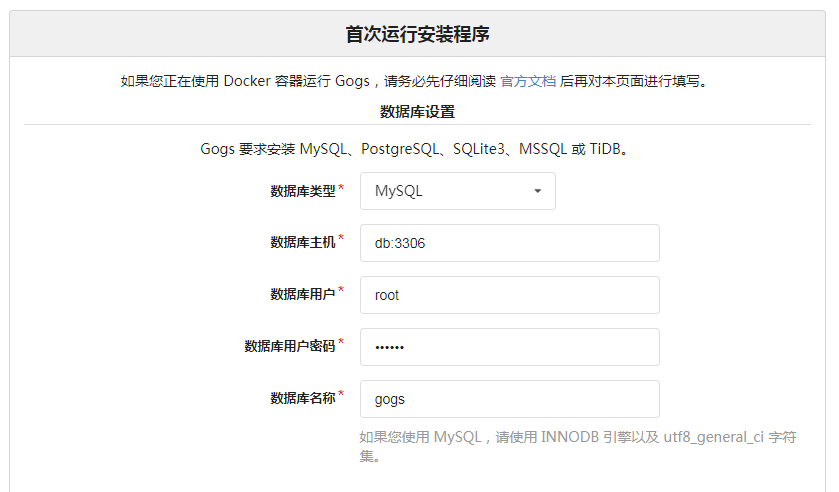
应用基本配置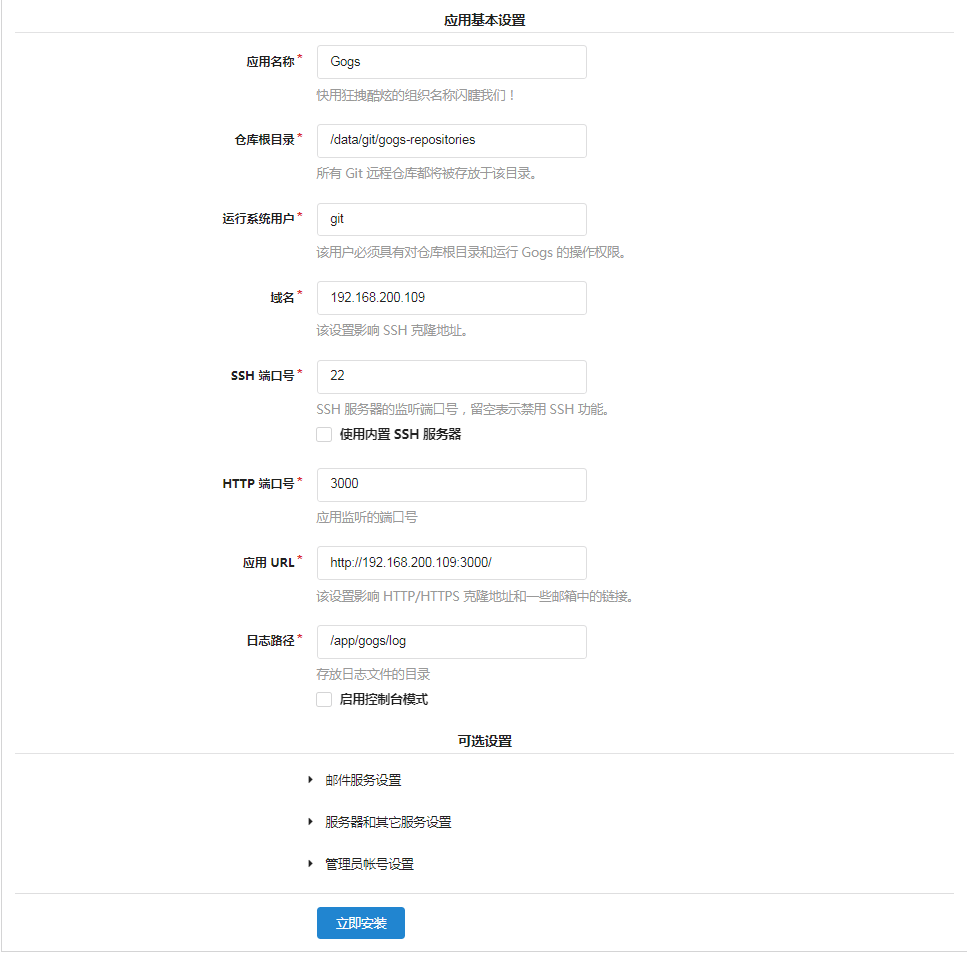
修正:应用URL填写http://192.168.200.109:10080
注册一个账号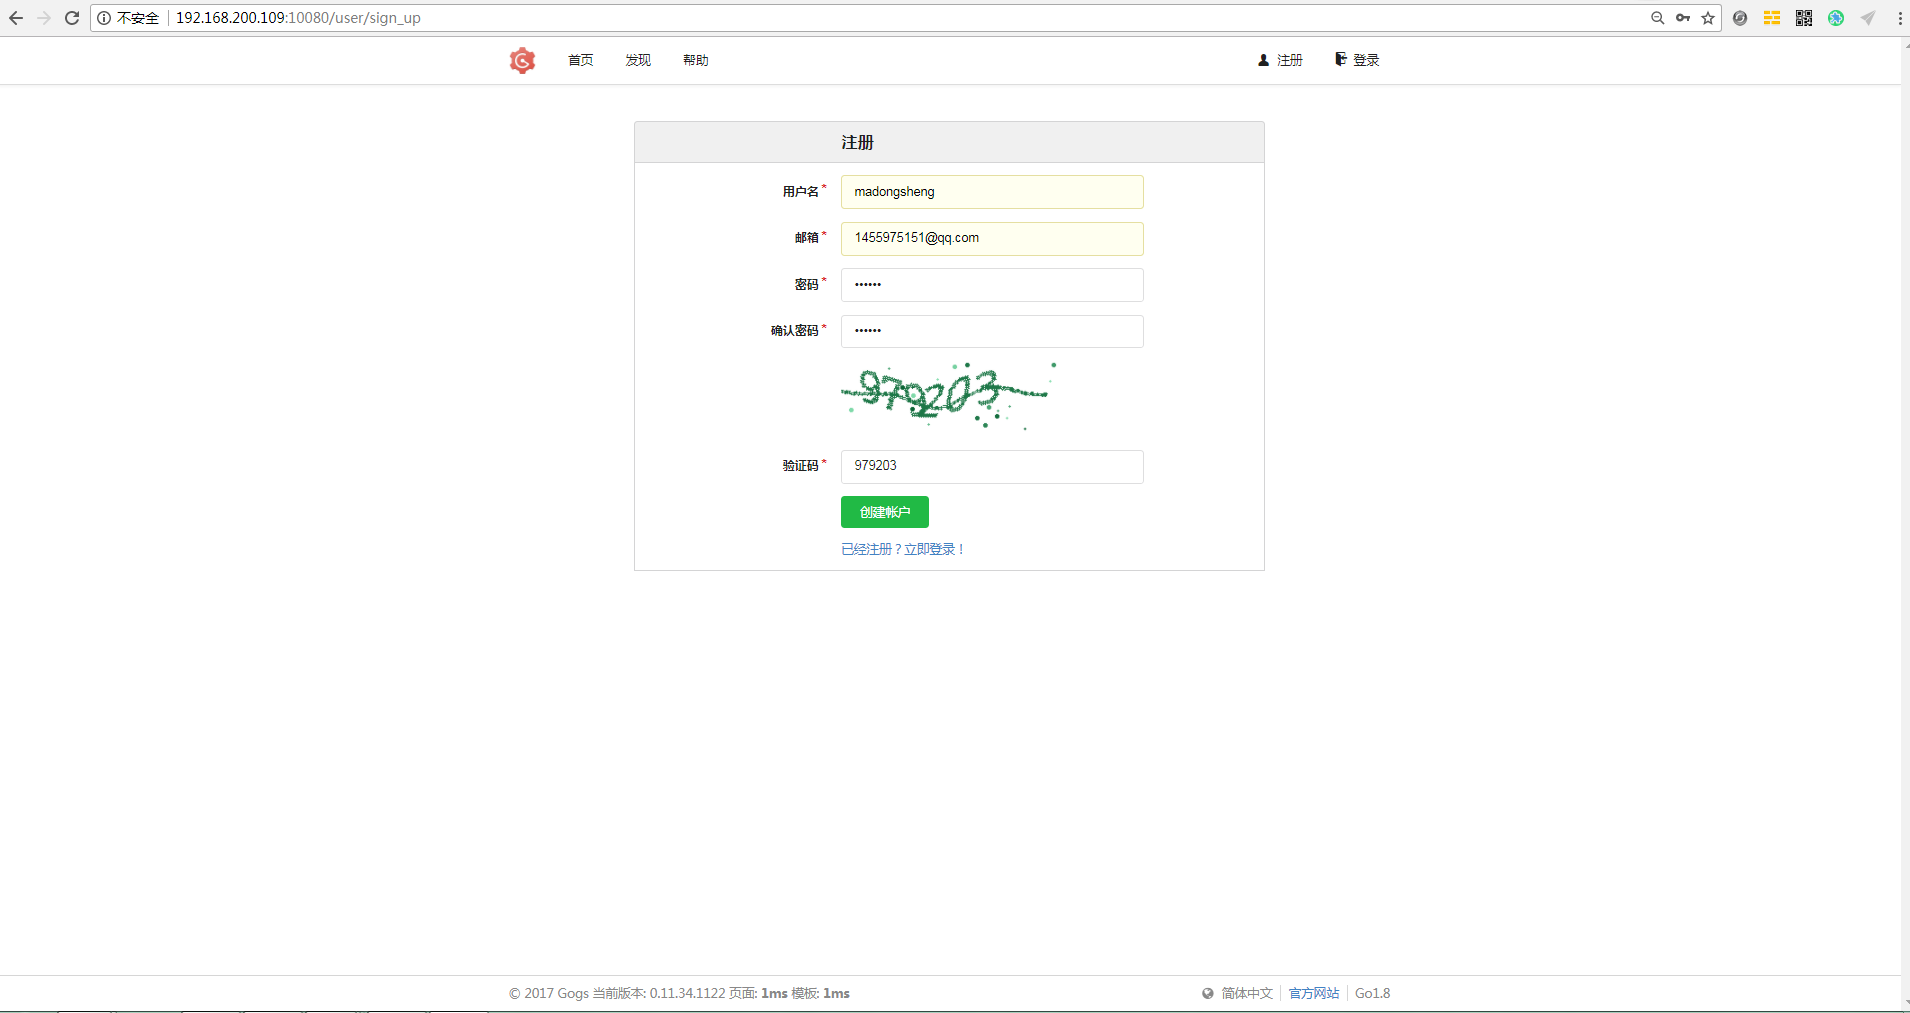
账号:madongsheng
密码:123456
登录:http://192.168.200.109:10080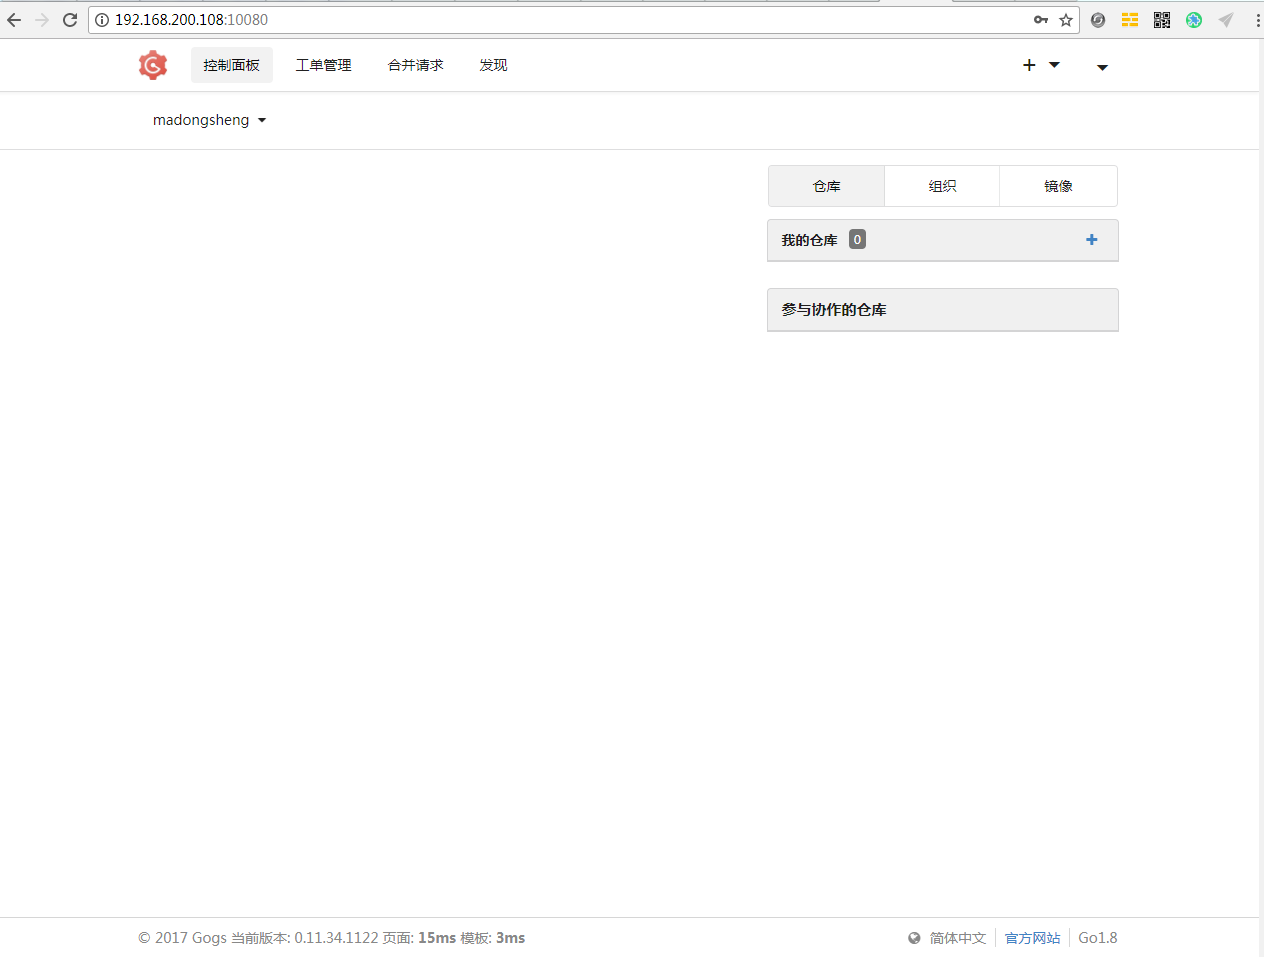
创建一个测试仓库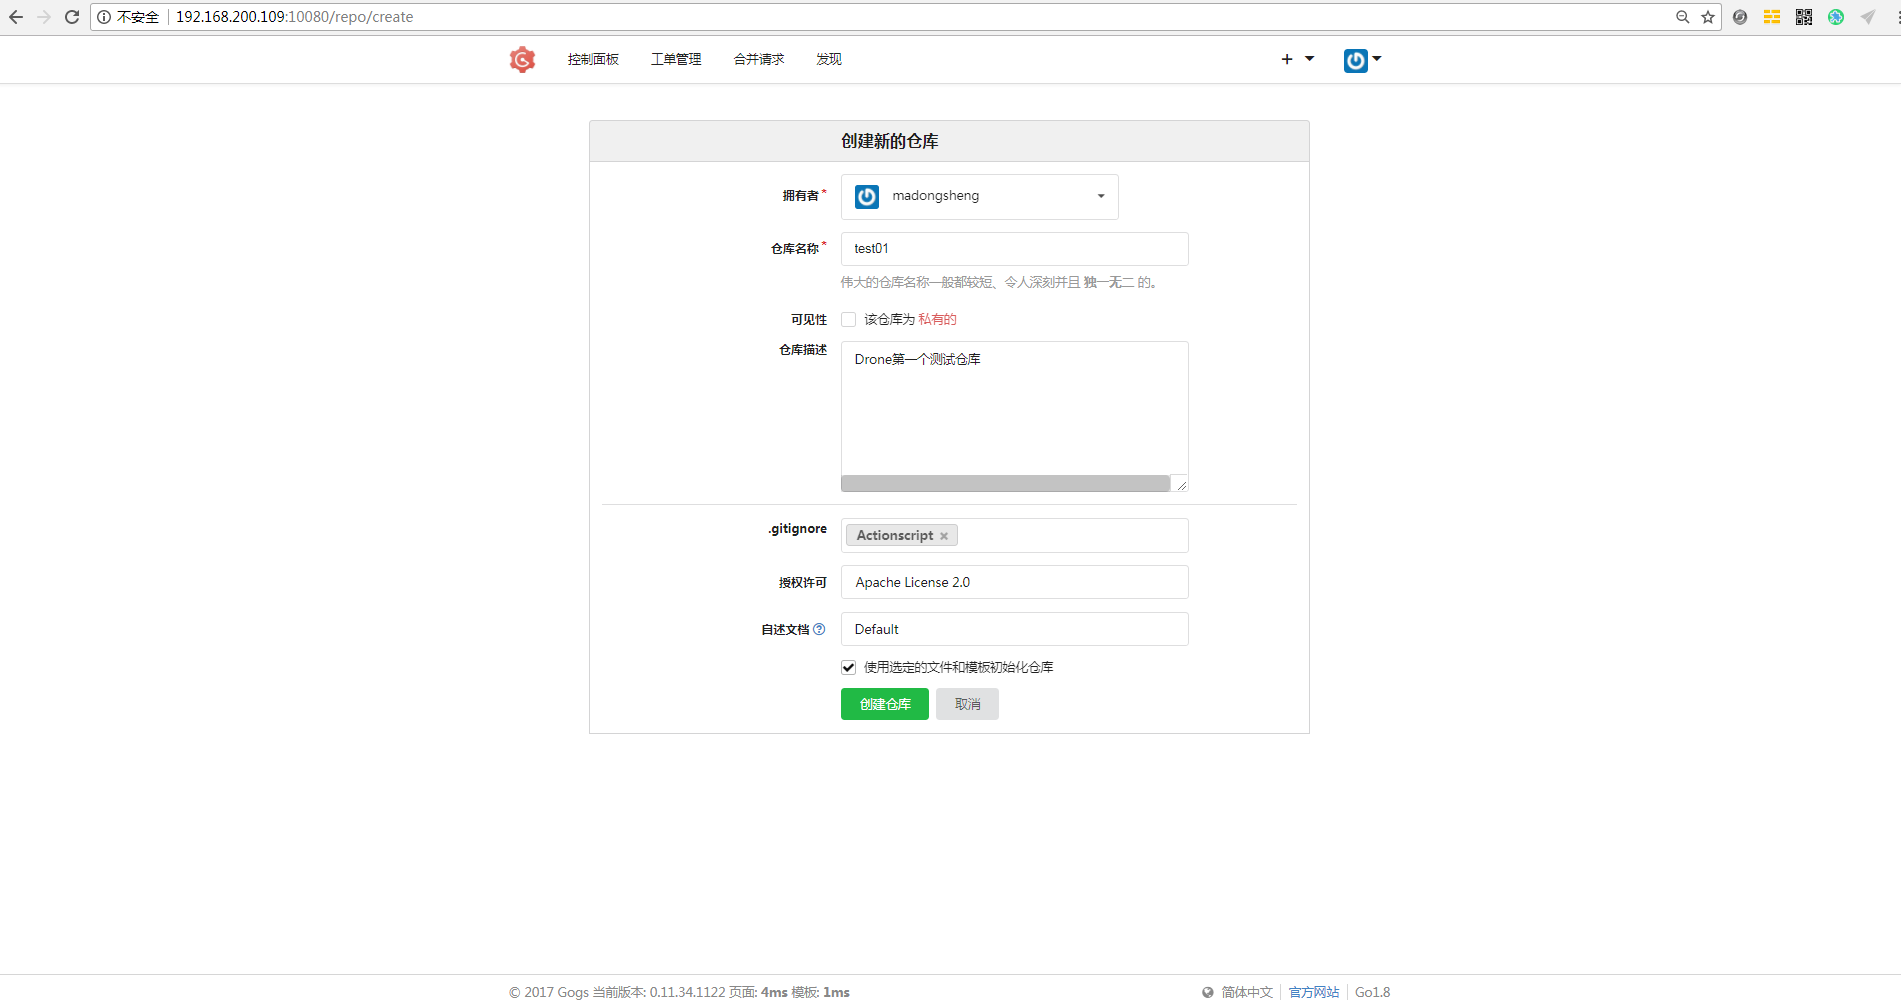
部署Drone server
1 | # docker run -d \ |
参数说明:
添加DRONE_DATABASE_DRIVER与DRONE_DATABASE_DATASOURCE参数说明使用MySQL存储相关数据,默认使用sqllite
登录drone控制面板
http://192.168.200.109:9090/login/form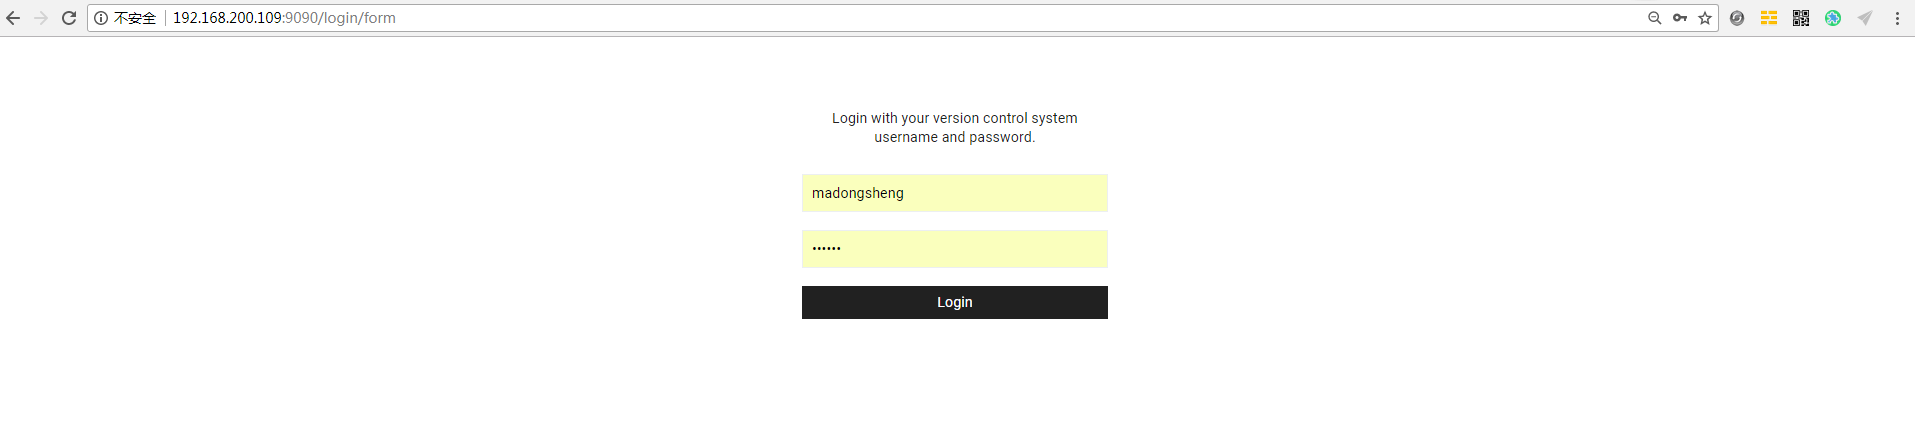
使用Gogs账号密码登录 例如:账号madongsheng 密码123456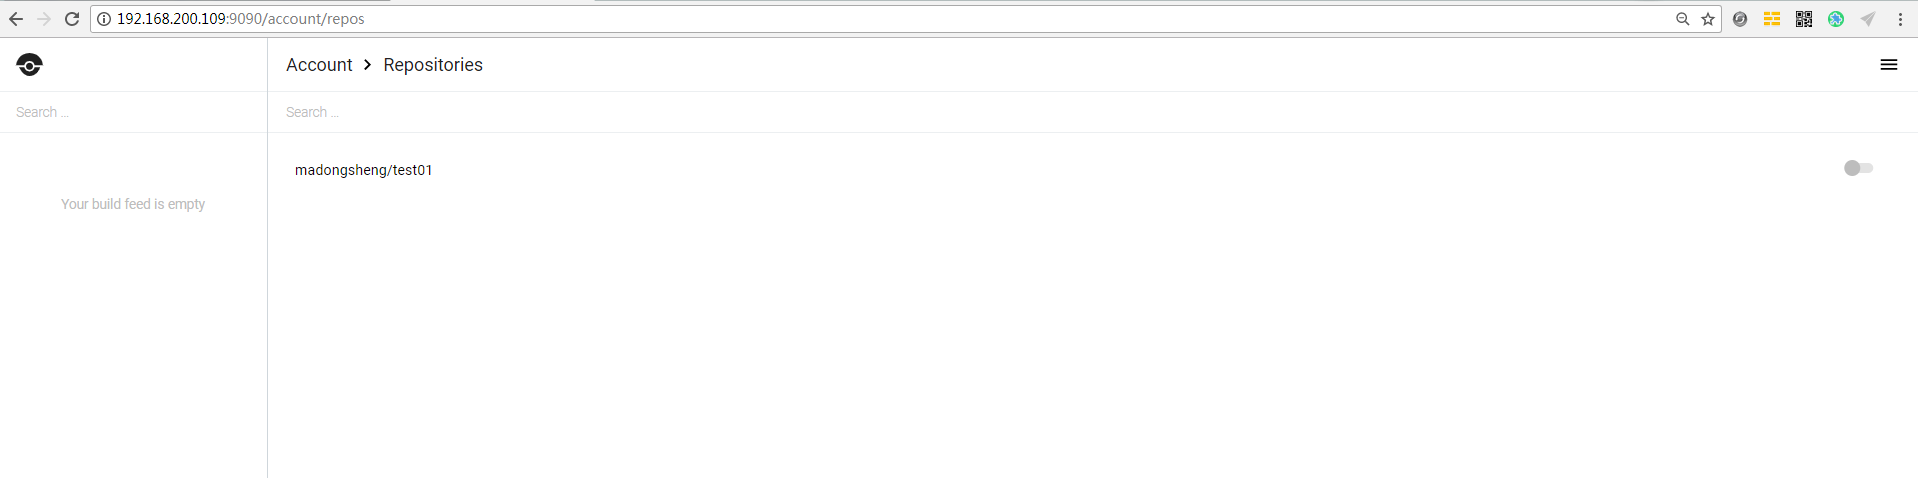
如何激活仓库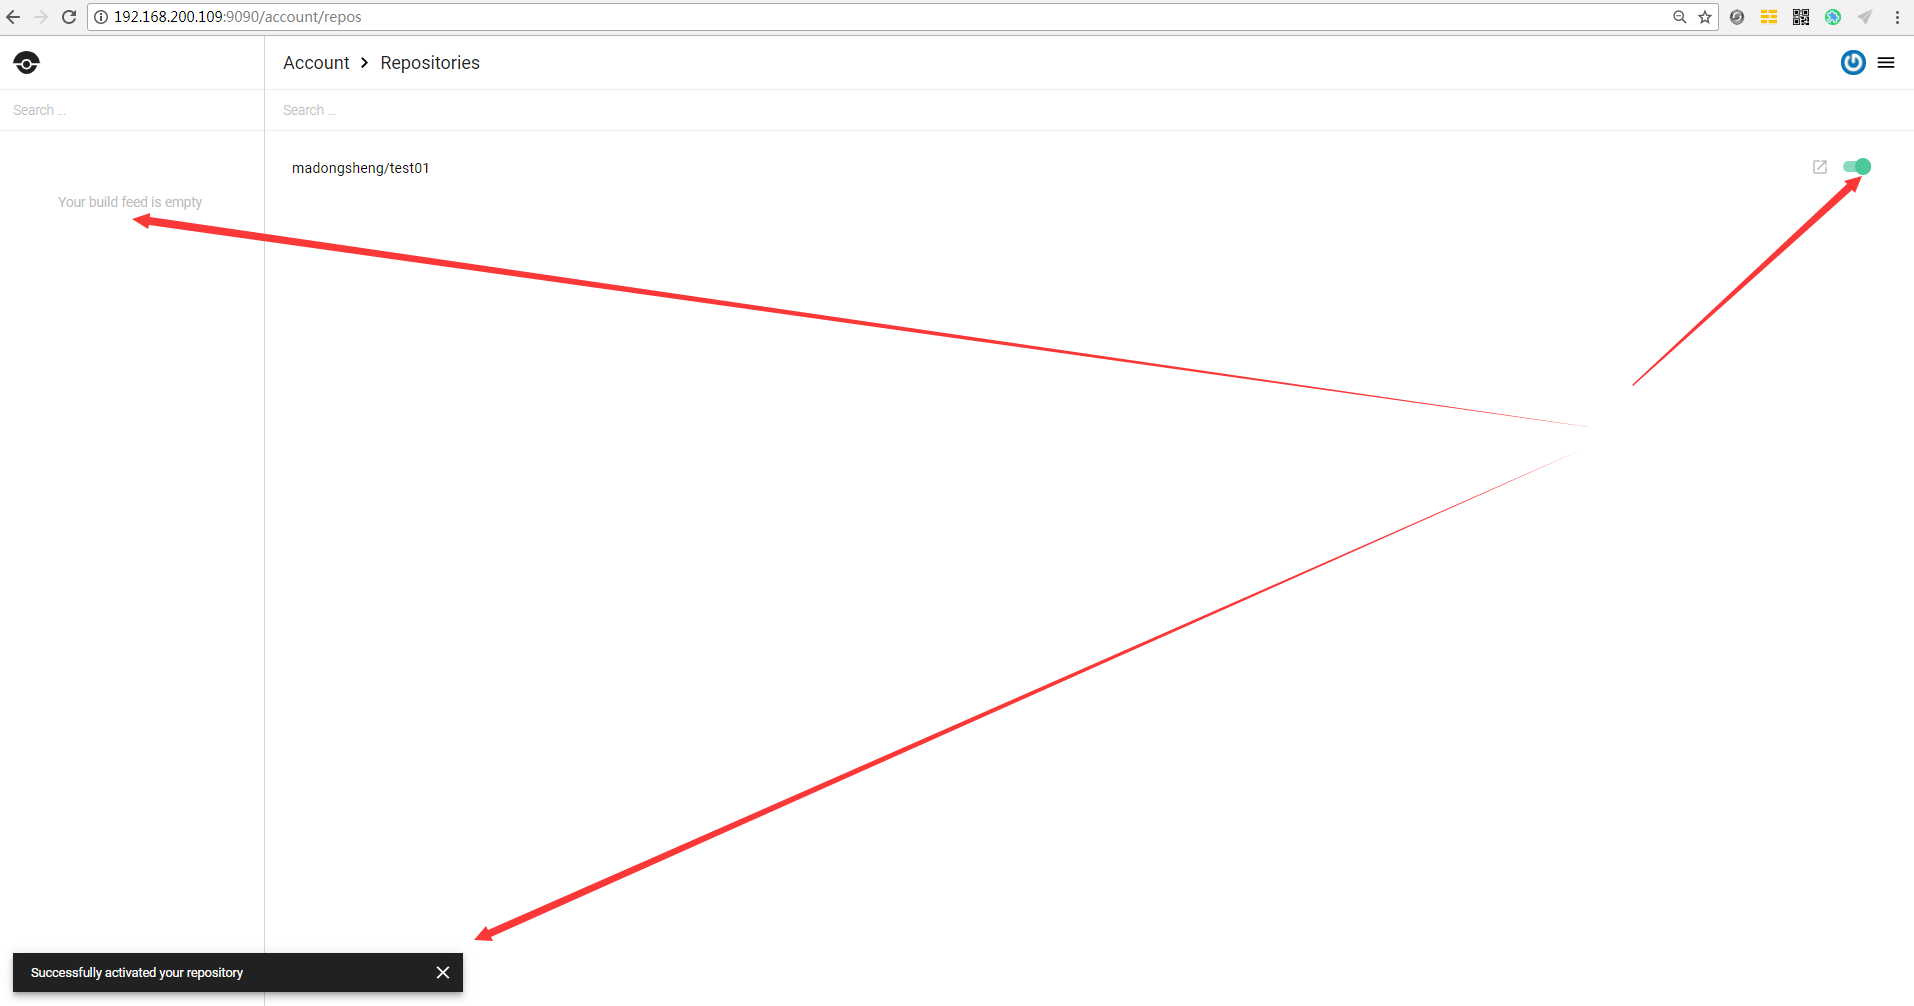
注释:登录后会列出所有有权限的repos信息,如果没有可以点击右上角菜单找到synchronize进行同步仓库信息。
部署Drone agent
1 | # docker run -d \ |
应用案例
自动化构建案例
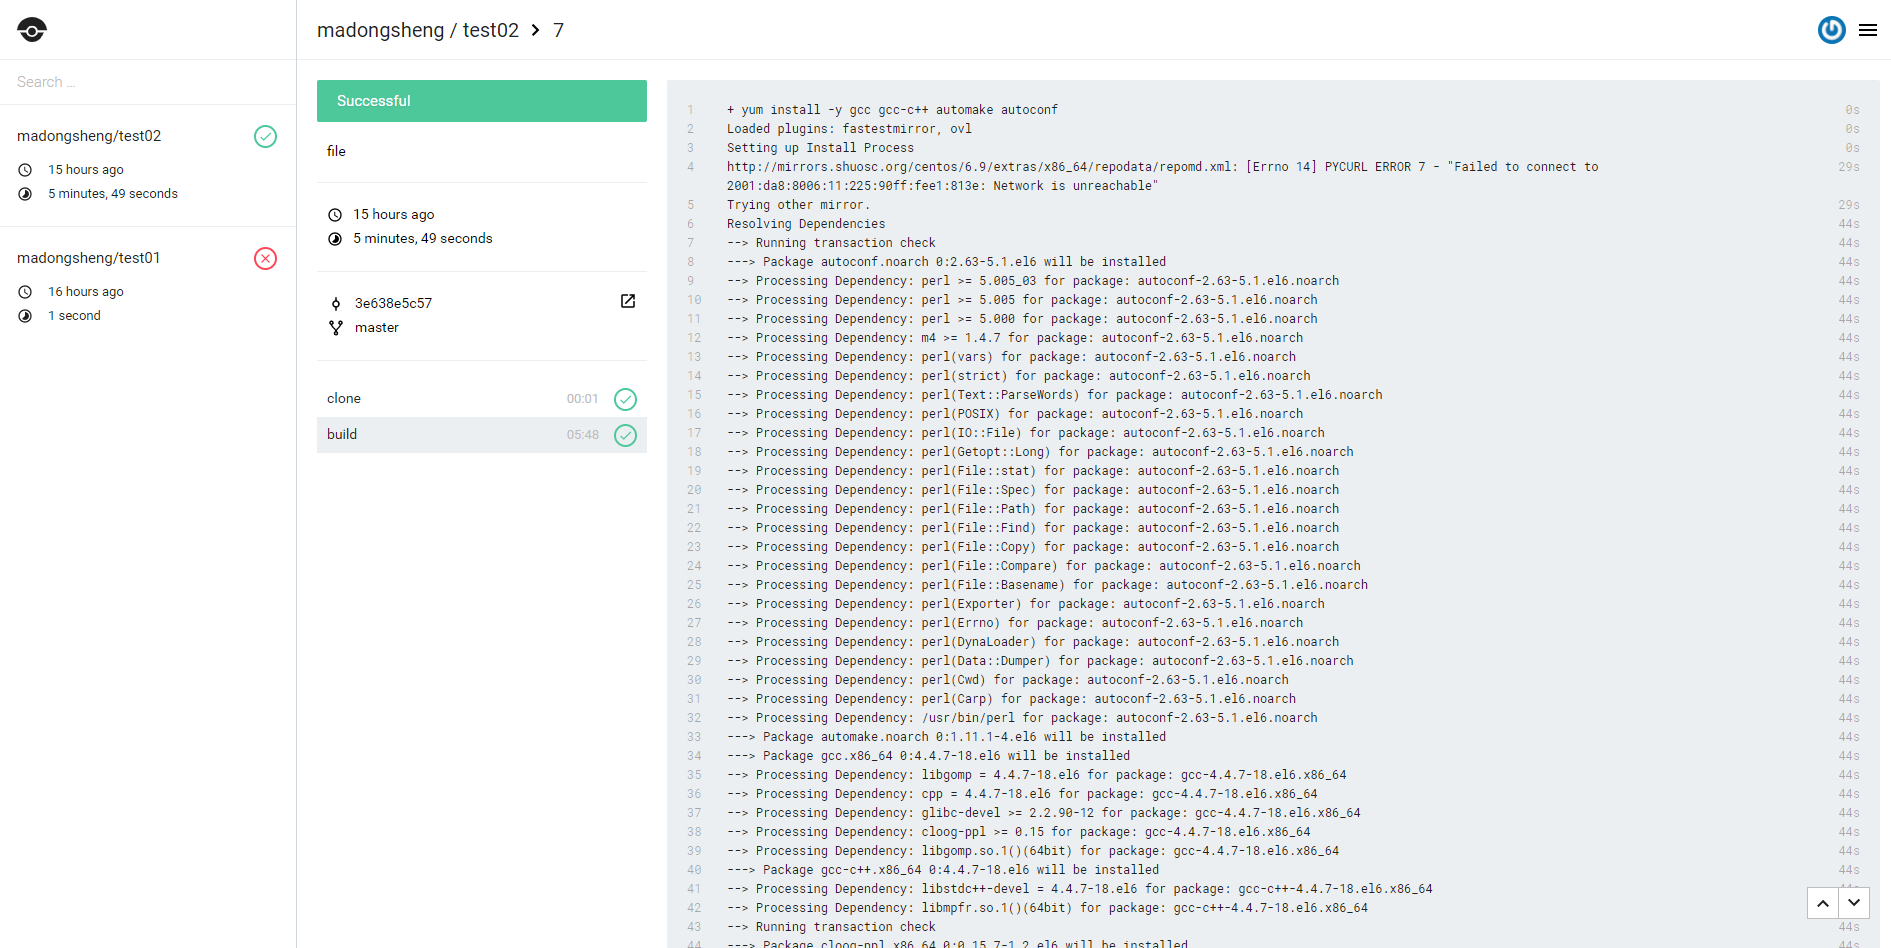
在库里添加构建配置文件
1 | # vim .drone.yml |
提前将相关镜像pull到本地,加快测试速度
1 | # docker pull golang |
自动触发创建构建任务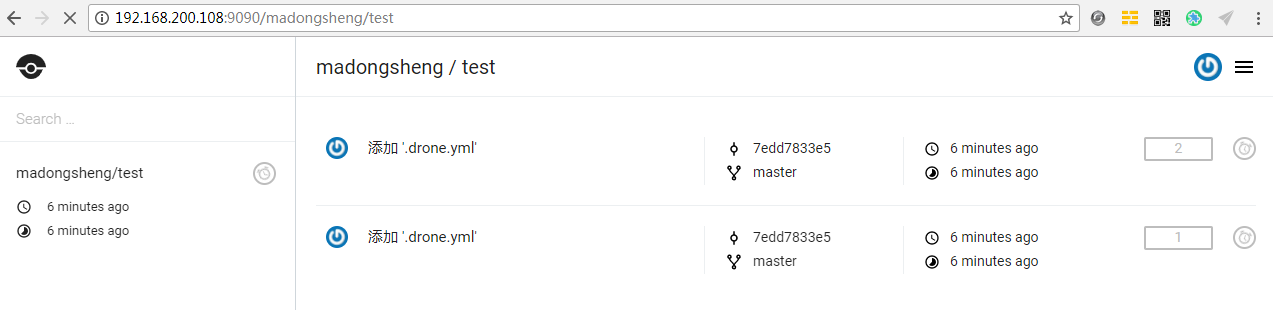
配置Drone用户注册
开放注册
1 | + DRONE_OPEN= true |
限制注册
1 | + DRONE_OPEN: true |
关闭注册
1 | + - DRONE_OPEN=false |
显示状态图标
官网资料
显示效果,如下: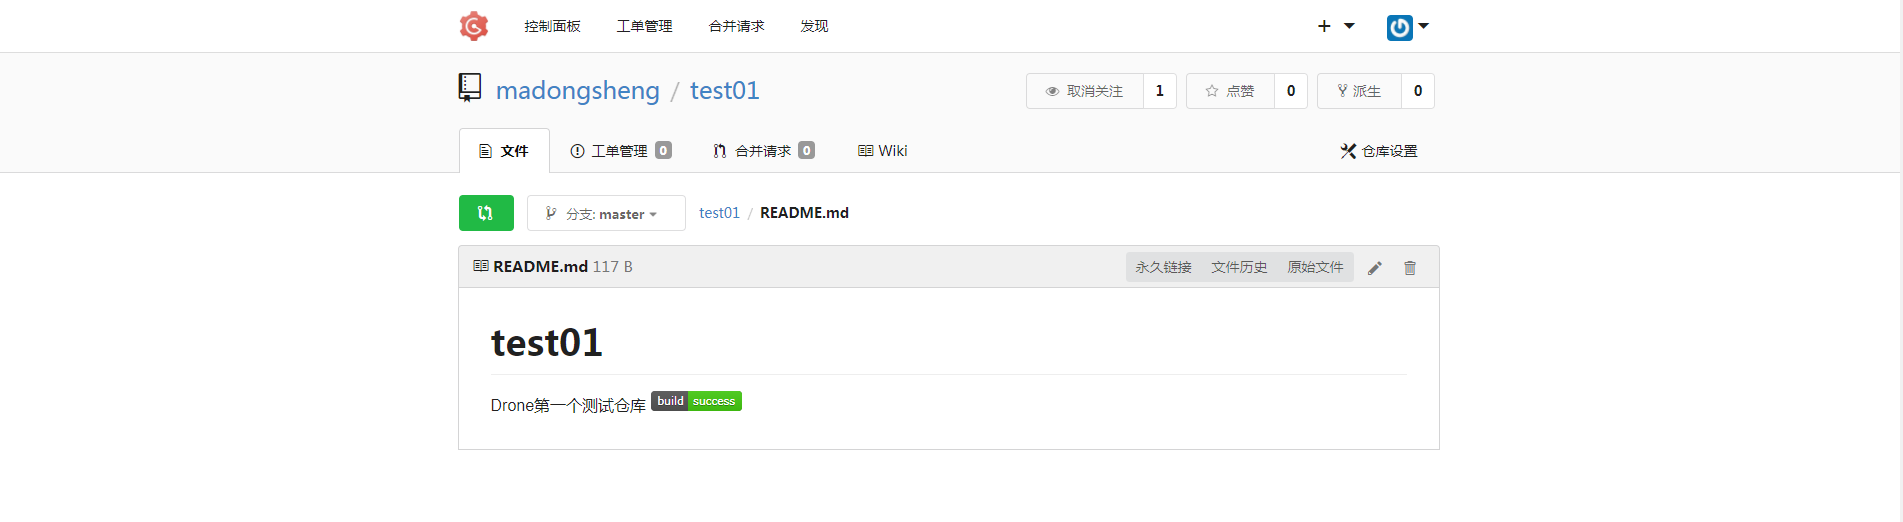
命令行管理Drone
管理主机安装命令行软件包
1 | # curl -L https://github.com/drone/drone-cli/releases/download/v0.8.0/drone_linux_amd64.tar.gz | tar zx |
设置token
1 | # export DRONE_SERVER=http://192.168.200.109:9090 |
测试
1 | # drone info |
主要功能
- 用户管理
- 仓库管理
- 构建管理
- REGISTRY管理
- 其他管理
API使用
当前登录用户
1
GET /api/user
当前登录用户的活动信息流
1
GET /api/user/feed
当前登录用户的仓库列表
1
GET /api/user/repos
如何实现agent扩展
没有看到官网有类似说明文章,想到可以使用docker-compose进行快速伸缩
1 | # docker-compose scale drone-agent=5 |
扩展前后可以明显看到并发任务量的增加
插件
官网插件地址
可以根据个人项目需求选择合适的插件进行配置。
附件
1 | # cat docker-compose.yml |
待续
https://segmentfault.com/a/1190000012066735
https://segmentfault.com/a/1190000012459296
参考资料
Drone Github地址
体验基于gogs+Drone搭建的CI/CD平台
======================================================
希望各位朋友支持一下
- 领取我的阿里云幸运券,谢谢.
- 使用腾讯云资源
- Linode VPS
- 搬瓦工VPS
- 阿里云1888元云产品通用代金券点我
- 阿里云最新活动全民云计算升级-拼团上云更优惠
本文作者:dongsheng
本文地址: https://mds1455975151.github.io/archives/1a623683.html
版权声明:转载请注明出处!